If you have ever stared at an outdated wooden dresser, a scratched-up side table, or a dull thrift store find and wondered how to give it a new lease on life, you are in the right place. Enter chalk paint. This miracle medium has revolutionized the world of DIY home decor, offering an incredibly forgiving, fast-drying, and versatile way to update furniture without the tedious prep work required by traditional latex or oil-based paints.
For beginners, chalk paint is the ultimate gateway into furniture flipping. It adheres beautifully to almost any surface, minimizes brush strokes, and can be easily distressed for a charming vintage look or smoothed out for a sleek, modern finish. In this comprehensive guide, we will explore why chalk paint is perfect for novices, walk you through the essential preparation steps, and dive into 10 creative DIY chalk paint furniture projects you can tackle this weekend.
Why Chalk Paint is Perfect for Beginners
Traditional furniture painting can be intimidating. It usually involves hours of stripping old varnish, intense sanding that creates clouds of toxic dust, and applying smelly primers. Chalk paint bypasses most of these hurdles. Here is why it is the absolute best choice for your first DIY furniture project:
- Minimal Prep Work: In most cases, you do not need to sand or prime your piece before painting. Chalk paint has incredible adhesive properties that allow it to stick to wood, laminate, metal, and even glass.
- Ultra-Matte, Forgiving Finish: The signature chalky, matte finish of this paint naturally hides imperfections, dents, and minor scratches in the wood.
- Water-Based and Low VOC: Chalk paint is easy to clean up with simple soap and water. It also has very low odor, making it safe to use indoors.
- Fast Drying Times: Chalk paint dries to the touch in about 30 to 60 minutes, meaning you can complete a multi-coat project in a single afternoon.
- Easy Distressing: If you love the farmhouse, shabby chic, or rustic aesthetic, chalk paint is incredibly easy to sand back to reveal the wood underneath.
The Essential Beginner’s Toolkit
Before you begin your first project, gather these basic supplies to ensure a smooth, professional-looking finish:
- Chalk Paint: Choose a high-quality brand like Annie Sloan, Dixie Belle, or Rust-Oleum Chalked.
- Chalk Paint Brush: A round, natural-bristle brush is ideal because it holds a lot of paint and helps create that classic textured look.
- Clear Wax or Topcoat: Chalk paint is porous and must be sealed. A clear paste wax or a water-based polycrylic will protect your piece from moisture and scratches.
- Wax Brush or Lint-Free Cloth: Used to apply and buff the protective wax.
- Fine-Grit Sandpaper (220-grit): For smoothing out any rough spots or distressing the edges.
- Degreasing Cleaner: Simple Green or TSP (Trisodium Phosphate) to clean the furniture before painting.
1. The Two-Tone Farmhouse Side Table
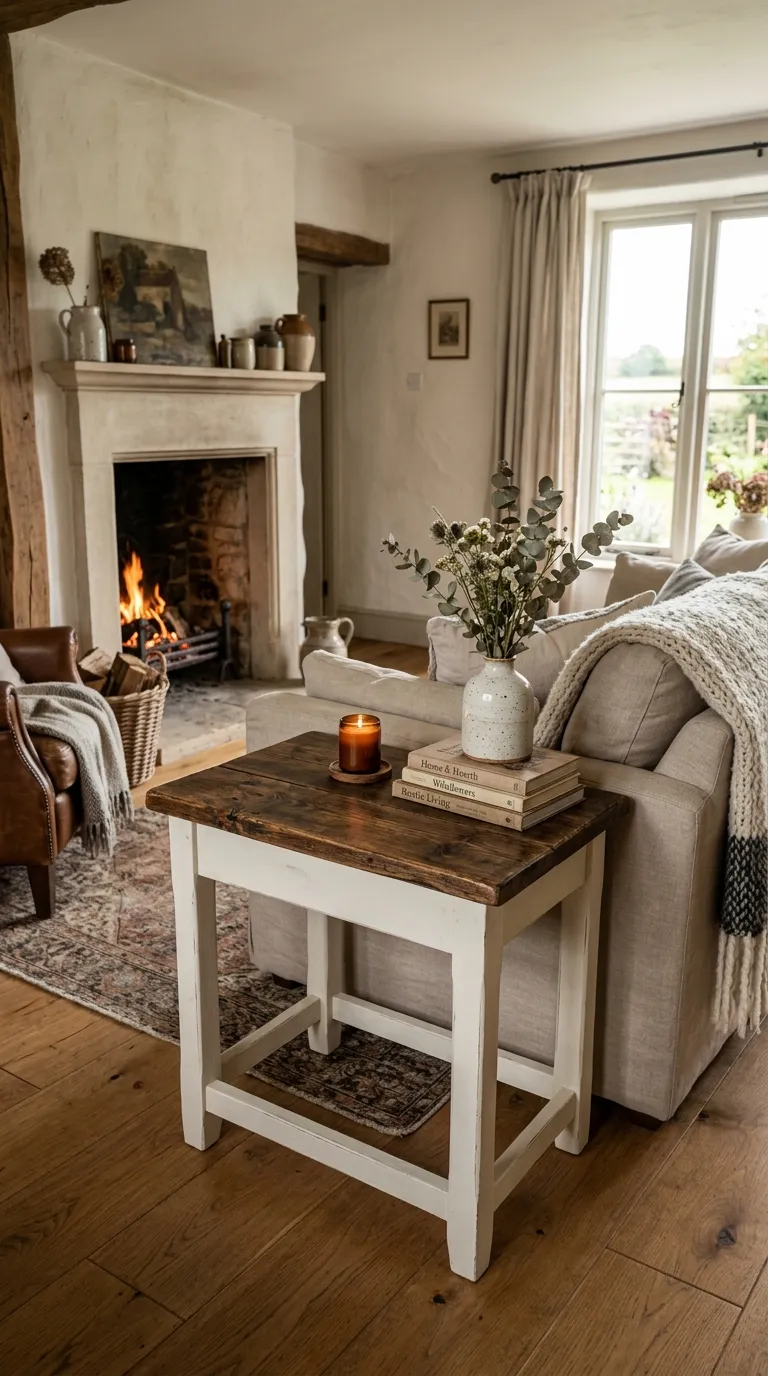
A two-tone look is incredibly stylish and perfect for beginners who want to preserve some of the natural wood grain. For this project, leave the top of a wooden side table natural, or sand it down and apply a dark wood stain. Then, paint the legs and apron with a soft cream or antique white chalk paint. Once dry, lightly sand the edges of the legs to let the wood peek through, and seal the entire piece with clear wax.