There is a quiet, meditative joy in preserving the fleeting beauty of a garden in full bloom. Flower pressing is an ancient botanical art form that has experienced a massive modern resurgence. No longer confined to the dusty pages of old family bibles, pressed flowers have transitioned into sophisticated, minimalist, and bohemian wall decor. Whether you are preserving a sentimental bridal bouquet, commemorating a special trip, or simply capturing the seasonal highlights of your backyard, turning pressed botanicals into wall art is an accessible and deeply rewarding DIY project.
Creating your own pressed flower wall art allows you to customize your home decor to match your personal aesthetic. From sleek, double-glazed floating frames to rustic wooden collages, the design possibilities are virtually endless. In this comprehensive guide, we will explore ten creative, step-by-step DIY flower pressing projects that will transform your blank walls into a botanical gallery.
Essential Tools and Techniques for Pressing Flowers
Before diving into the specific design projects, it is crucial to understand the fundamentals of flower pressing. The success of your wall art depends heavily on how well the specimens are dried. Moisture is the ultimate enemy; if flowers dry too slowly, they will lose their vibrant colors and turn brown, or worse, develop mold.
- Selecting the Right Flowers: Flat-faced flowers with single layers of petals press best. Excellent candidates include pansies, violas, cosmos, daisies, buttercups, and ferns. Thick flowers like roses, peonies, or carnations can be pressed, but they must be sliced down the middle first to reduce bulk.
- The Wooden Flower Press Method: This classic method uses layers of cardboard and watercolor blotting paper clamped tightly between two wooden boards. It provides even, high pressure and takes about two to three weeks for complete drying.
- The Book Method: The simplest method involves placing flowers between sheets of parchment paper and tucking them inside a heavy book. Stack additional heavy books on top to increase the weight.
- The Microwave Press Method: For those who do not want to wait weeks, specialized microwave flower presses can dry specimens in a matter of minutes using felt pads and terracotta tiles. This method often preserves bright colors exceptionally well.
1. The Minimalist Double-Glass Floating Frame
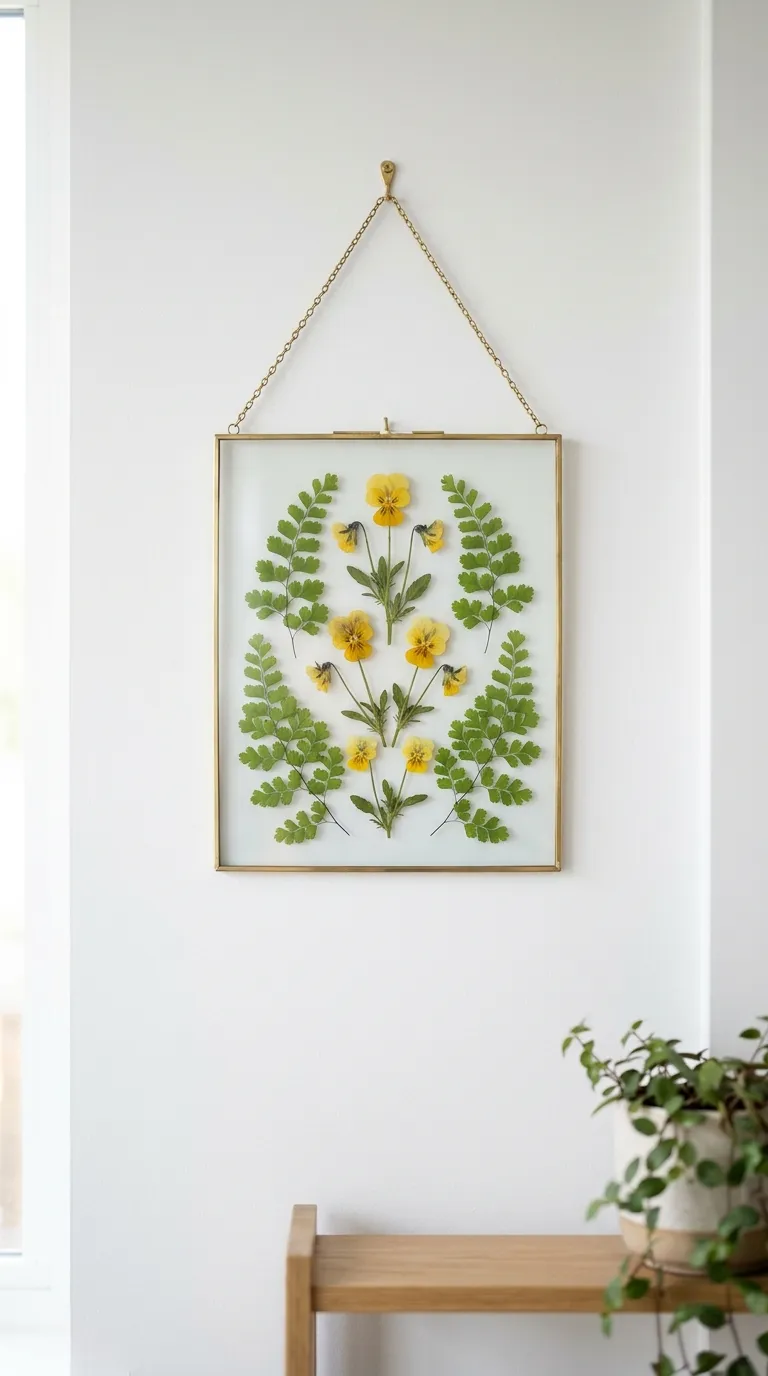
The floating frame is perhaps the most popular modern way to display pressed flowers. By sandwiching the botanicals between two sheets of clear glass, the wall behind the frame shows through, creating a striking, suspended-in-air illusion.
To create this look, thoroughly clean both glass panes to ensure there are no fingerprints or dust particles. Arrange your pressed flowers on one pane of glass in a balanced, asymmetrical composition. To prevent the flowers from sliding down over time, use a tiny toothpick-tip dot of clear-drying acid-free glue on the back of each flower. Gently place the second pane of glass on top and secure the frame. This style looks exceptionally beautiful when styled with delicate ferns, lace flowers, and cosmos.