10. Personalized Photo and Memorabilia Coasters
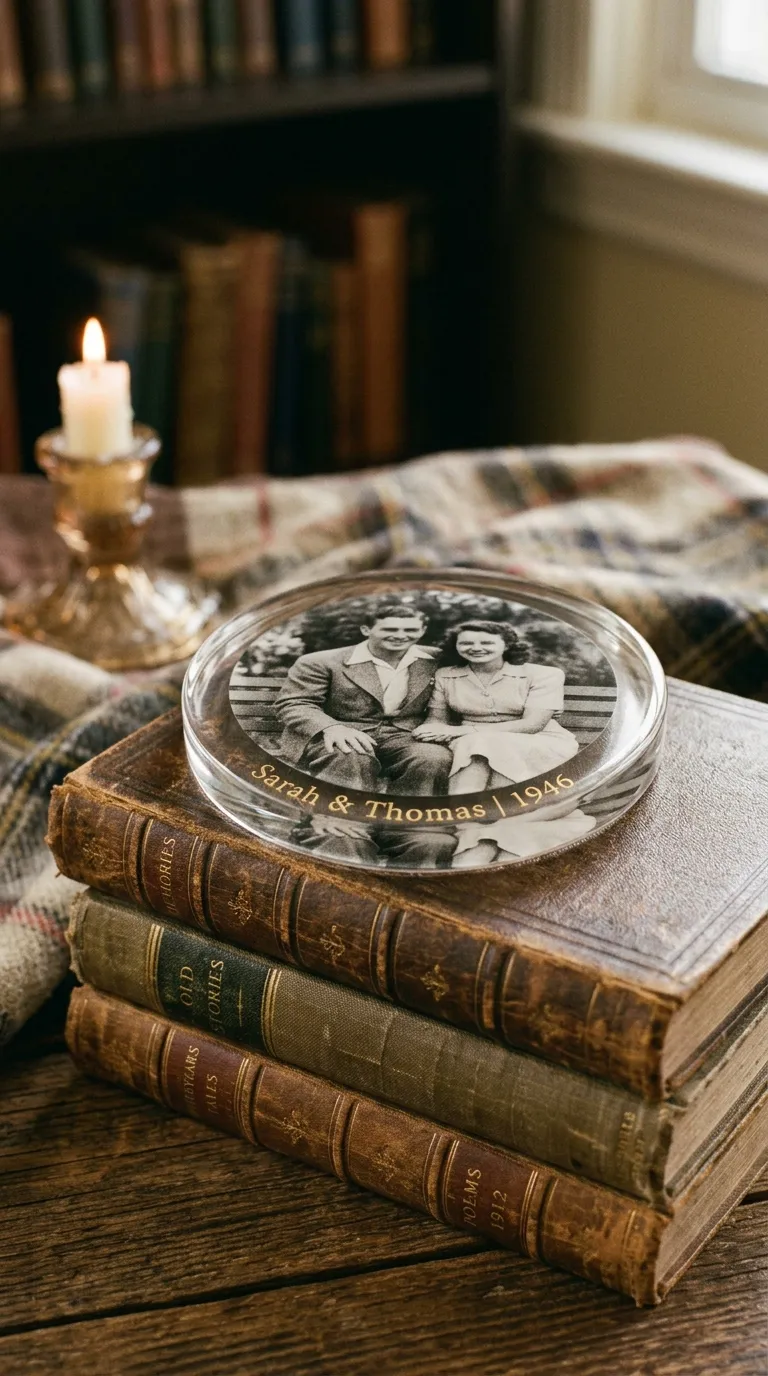
Resin coasters make incredibly thoughtful, personalized gifts when you embed photographs, concert tickets, map cutouts, or handwritten notes. However, paper is highly porous and will absorb resin, resulting in dark, wet-looking, translucent spots that ruin the image. The key to success with this project is sealing your paper items first.
Cut your photo or paper memorabilia to fit your coaster mold. Apply two to three thin coats of Mod Podge or clear craft sealer to both sides and the edges of the paper, allowing it to dry completely between coats. Once sealed, pour a thin layer of clear resin into the mold, place your sealed image face down (or face up, depending on the mold orientation), and smooth out any trapped air bubbles beneath the paper. Finish by pouring a clear topcoat of resin over the image to seal it permanently inside its protective plastic shell.
Essential Tips for Resin Success
- Measure Accurately: Most craft resins are a 1:1 ratio by volume. Use graduated mixing cups and measure precisely. An incorrect ratio will result in sticky, uncured resin that never hardens.
- Mix Thoroughly: Stir your resin and hardener slowly for at least three full minutes. Be sure to scrape the sides and bottom of the mixing cup. Unmixed resin on the sides of the cup is the leading cause of soft spots in cured coasters.
- Pop Bubbles: Bubbles are inevitable during mixing. After pouring your resin into the molds, let it sit for a few minutes to allow bubbles to rise. Gently pass a heat gun or butane torch a few inches above the surface to pop them instantly.
- Keep It Level: Ensure your curing station is completely level. Resin is self-leveling, and even a slight tilt in your table will result in coasters that are thicker on one side.
- Protect from Dust: Wet resin acts like a magnet for dust, pet hair, and lint. Always cover your curing coasters with a clean cardboard box or plastic bin while they cure for 24 to 48 hours.